

DW Blackjack Cube Windows Embedded Standard 7 Recovery Instructions (S/N starting with SH81R)
-----------------------------------
Affected Roles: Administrator, Owner
Software Version: Windows 7 (DW Blackjack default settings)
Last Edit: October 3, 2025
-----------------------------------
System Recovery
Some older DW Blackjack Cube (DW-BJCUBExT) units utilize a Windows Standard 7 operating system through which users can access and manage their DW Spectrum Servers. In the event of file corruption or other system issues with the unit, it may be recommended to use the USB recovery drive that was provided with the unit.
In addition to resolving system issues, using this method can also be implemented to apply an ISO for the Windows 10 configuration of DW Blackjack systems.
This article will outline how to recover the operating system (OS) of a DW Blackjack Cube with Embedded Windows 7 and update to Windows 10 by using a USB recovery drive.
**NOTE: DW Blackjack Cube units using Windows 7 requires a USB recovery drive. Please contact your DW Sales Representative if you have misplaced or lost the provided recovery device.
**DISCLAIMER: Using the recovery program will format/delete all data on the storage drive.
Supported/Affected Devices:
- DW Blackjack Cube (Win7 OS)
Before You Begin
Network Settings Documentation
The recovery process will completely reset the NVR and return the system to its factory default. If you are using static IP settings in a managed network, it is recommended to document your computer’s network settings. You can use this information when reintegrating the computer into the network.
IP Settings include:
- IP Address
- Subnet or Subnet Prefix Length
- Gateway Address
- Preferred DNS Address
- Alternate DNS Address
Media Archive Data Backup
Data will be deleted during the formatting process. DW Blackjack units use separate drive partitions to preserve DW Spectrum Media archives but if you are using a custom-built server or have altered the default save location of the DW Spectrum Server Media, it is recommended to back up the media archives. For more information on manually backing up server archives, you can refer to the article “Large Storage Backup from a DW Spectrum Server”.
How to Run the Windows 7 USB Recovery on a DW Blackjack Cube
Please use the guide below to recover a Windows Embedded Standard 7 Blackjack Cube NVR.
Part 1: Assigning the USB Recovery for Boot Device Priority
- Please completely shut down the NVR.
- Once the unit has powered OFF, insert the provided recovery USB into a vacant USB port.
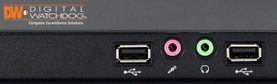
There are two (2) USB ports at the bottom of the front panel of the unit:
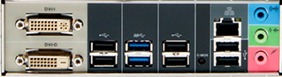
As well as eight (8) USB ports on the rear panel of the unit:
With the USB inserted, power the NVR back on.
- As the unit is booting, tap the “Delete” key on the keyboard to prompt the BIOS.
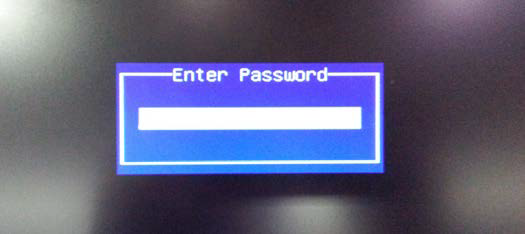
A login prompt will display. Enter the System Administrator password
-
- Default Password : admin

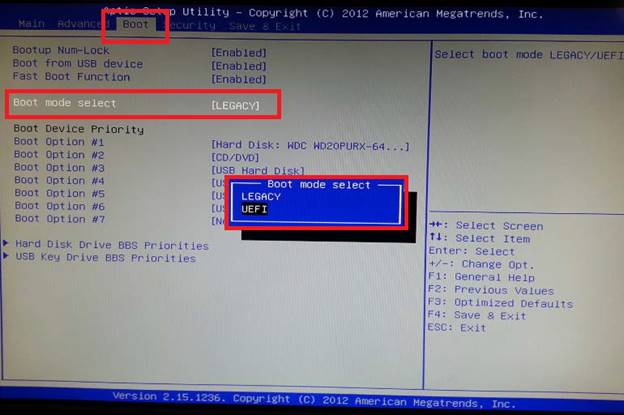
- Once logged into the BIOS, use the arrow keys on the keyboard to navigate to the “Boot” tab.
Make sure that the “Boot mode select” setting is set to “UEFI”.
- In the Boot menu, locate the Boot Device Priority and select “Boot Option #1”.
Make sure that Boot Option #1 is set to use “USB Key:UEFI: Flash Drive_SM_USB” as the first boot option. This designates the connected USB recovery drive as the device that the NVR will attempt to start from.
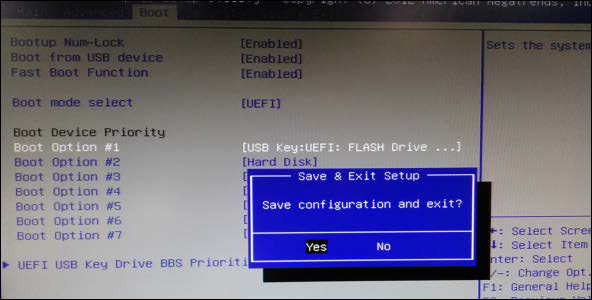
- Next, press the F4 key to Save and Exit the BIOS setup.
Be sure to Save the configuration as you exit.
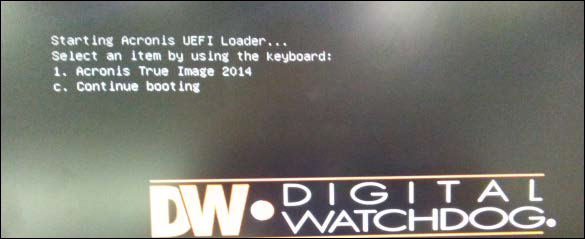
- The system will reboot and the following image will display.
Press the “1” key on the keyboard to select the “Acronis True Image” program.
Part 2: Setting up the Acronis True Image Recovery Wizard
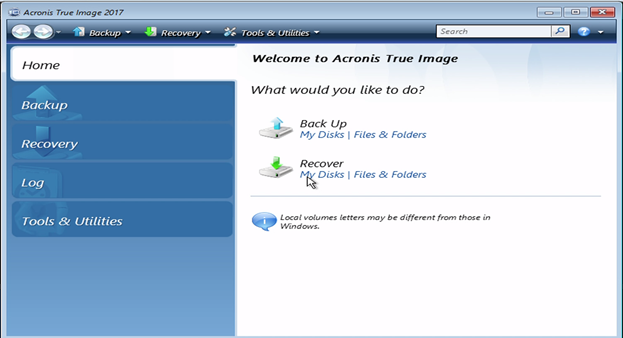
- Following the instructions in the Part 1 section above, the Home menu of the Acronis True Image program will display.
Under the Recover section, click on “My Disks”.
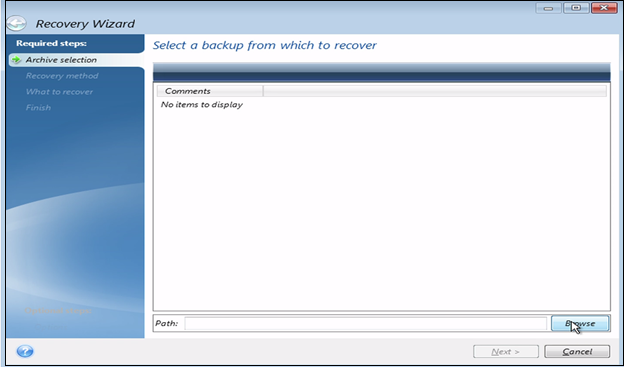
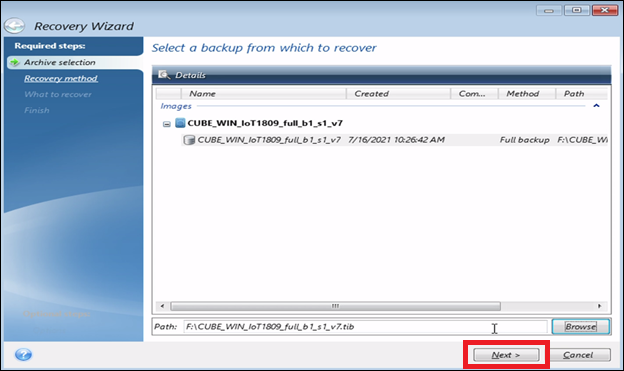
- The program’s Recovery Wizard will display to begin setting up the recovery parameters.
Click on the “Browse” button to select the file path for the Archive selection.
- The Browse for Location file browser will display.
Select the XXXXX_v1.tib file, then click the OK button.
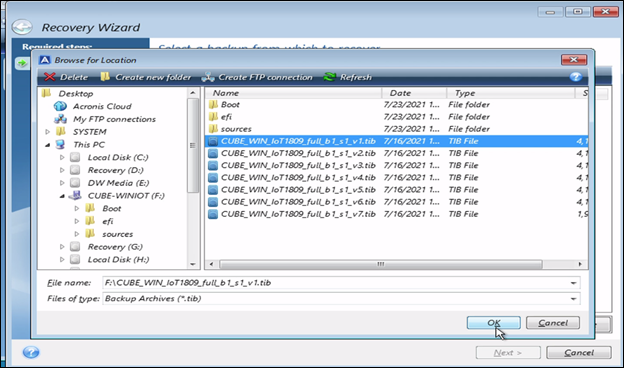
- After selecting the XXXXX_v1.tib file, click the “Next” button to proceed.
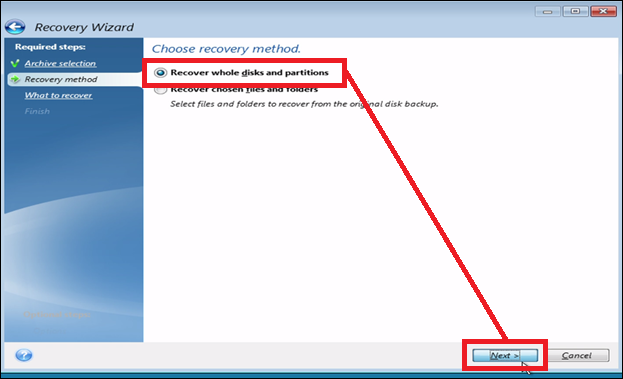
- Select to “Recover whole disks and partitions”, then click the “Next” button.
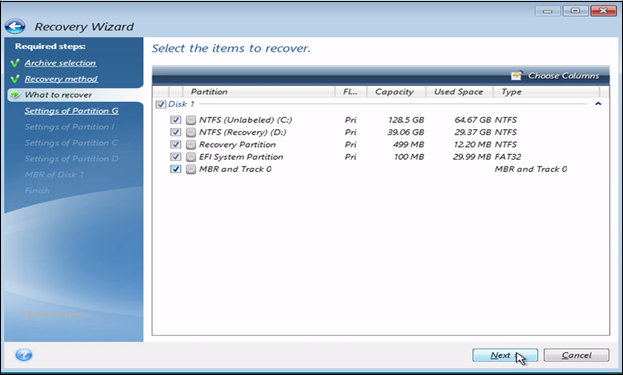
- The “What to recover” window will display.
Select “Disk 1”. This will automatically select all of the partitions on Disk 1.
Click the “Next” button to proceed.
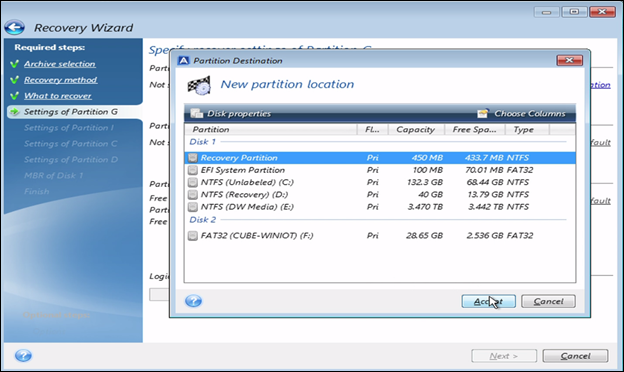
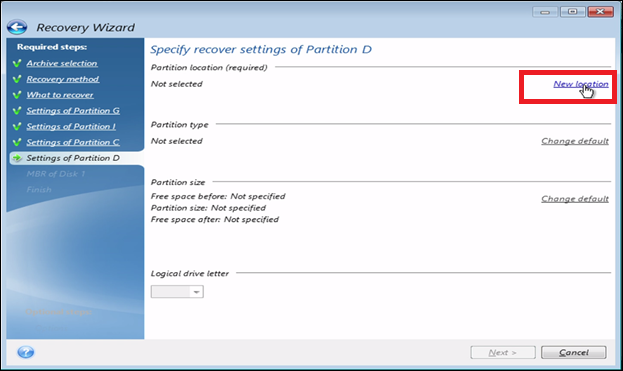
- In the “Settings of Partition” (partition varies by drive letter) screen, locate the “Partition location” section and click on “New location”.
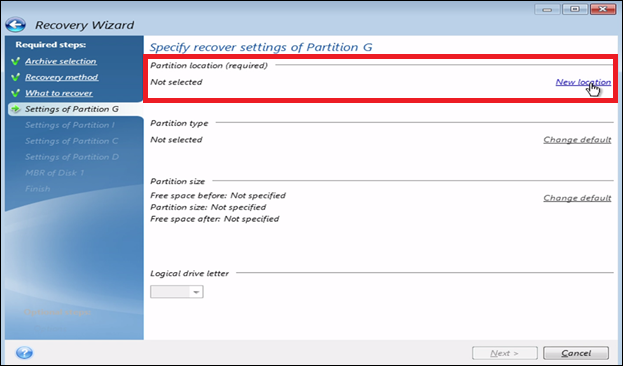
- For the “Partition Destination”, select “Recovery Partition”, then click the “Accept” button.
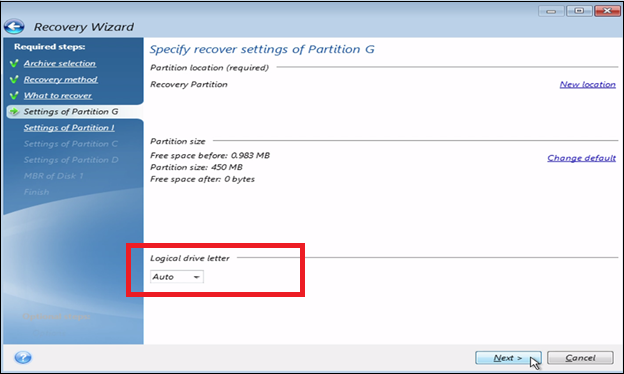
- Next, set the “Logical drive letter” setting to “Auto”, then click the “Next” button.
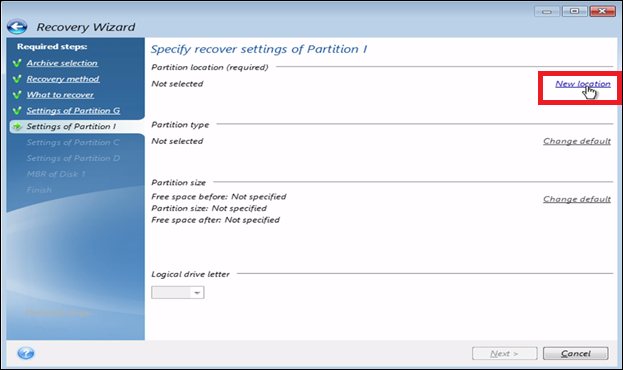
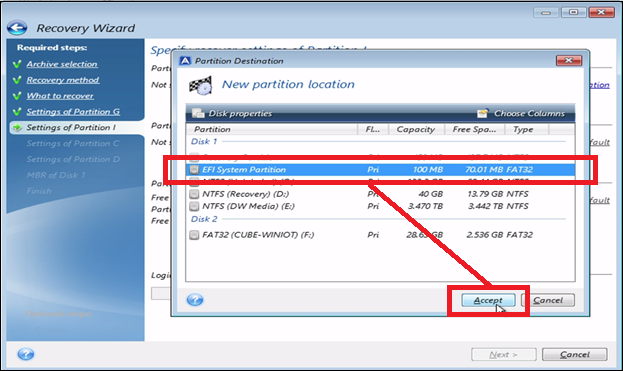
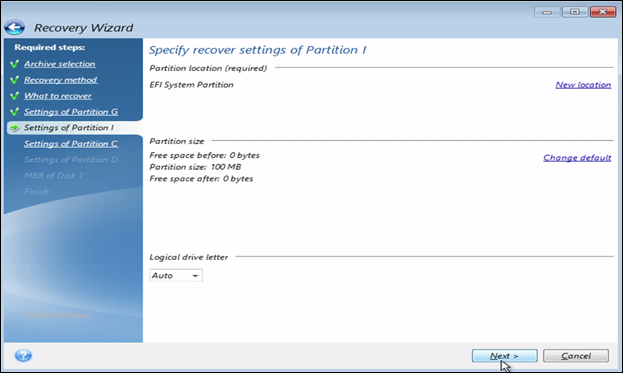
- For the EFI System partition (2nd partition), click on “New location”.
Select “EFI System Partition”, then click the “Accept” button.
- Set the “Logical drive letter” setting to “Auto”, then click the “Next” button.
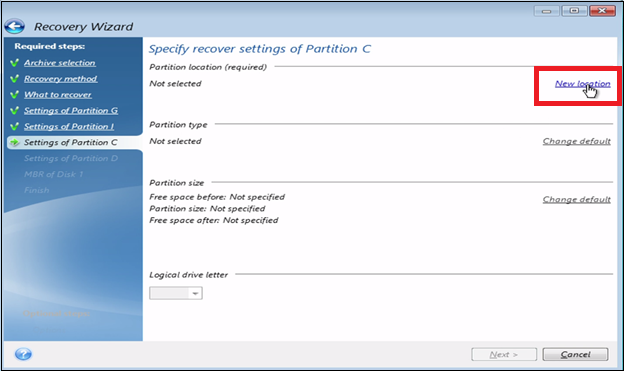
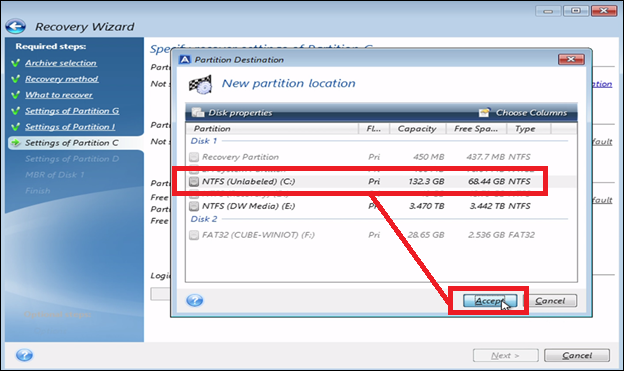
- For the C: Partition (third partition), click on “New Location”.
Select the “NTFS (C:)” option, then click the “Accept” button.
**NOTE: The Partition Destination window here may take a moment to close. Please allow the Recovery Wizard complete the setup.
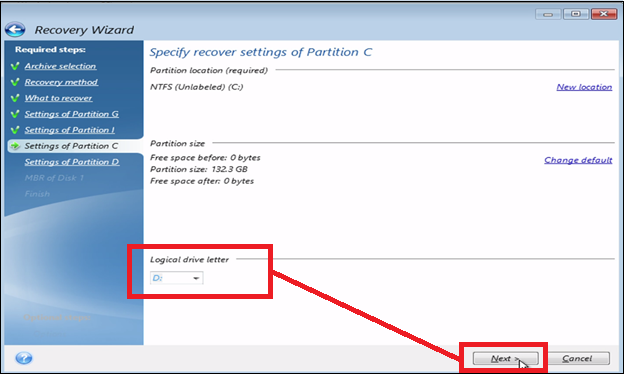
- Next, set the Logical drive letter to the first available drive letter in the dropdown.
Click “Next” button.
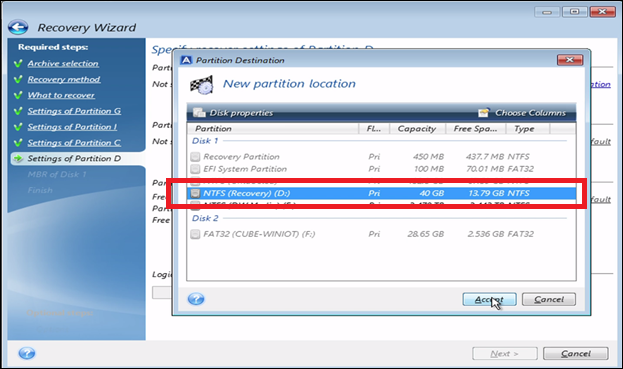
- For the D: Partition (fourth partition), click on”New Location”.
Select the “NTFS (Recovery) (D:)” option, then click the “Accept” button.
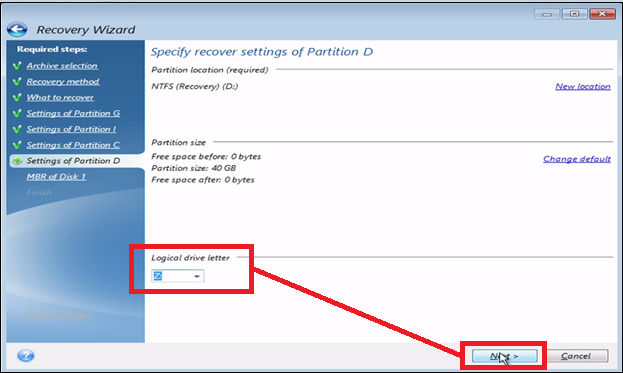
- Next, set the Logical drive letter to “Z:”, then click the “Next” button.
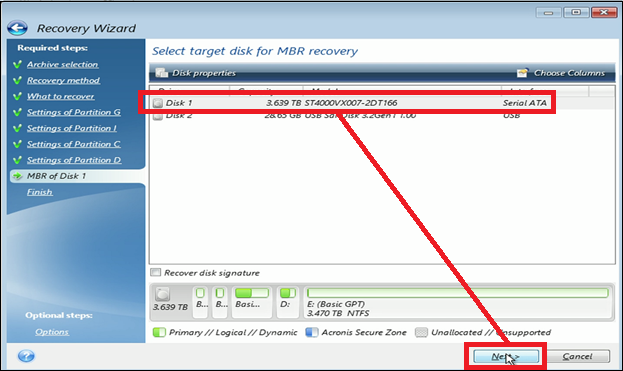
- When selecting a disk for the master boot record (MBR) recovery, select the HDD or SSD that is hosting the (C:) drive partition. Do not select the recovery USB.
Click the “Next” button to continue.
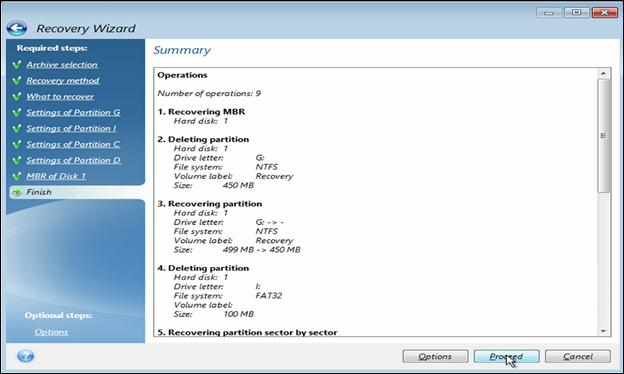
- A Summary of the Recovery Wizard setup settings will display.
Click the “Proceed” button to run the recovery program.
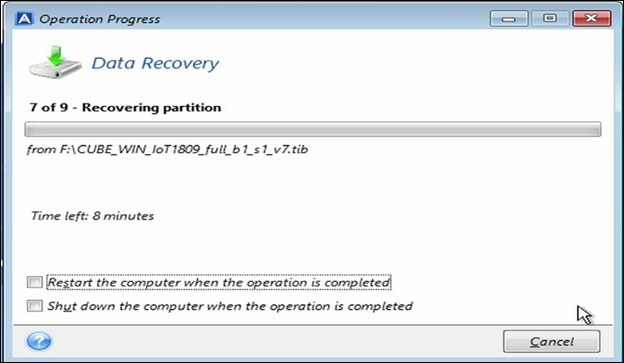
Wait until the recovery completes. You can track the process by using the progress bar.
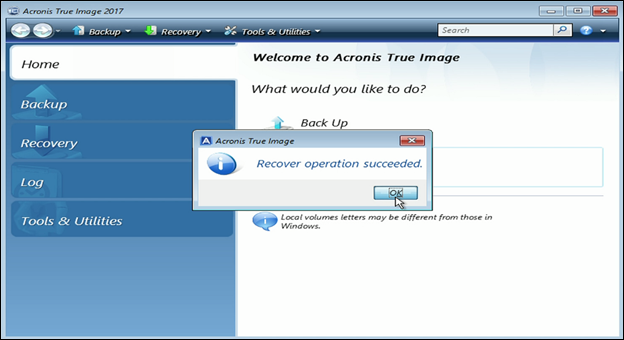
- Once the recovery operation has completed, a confirmation message will display.
Click the “OK” button to close the popup, then close the Acronis True Image tool.
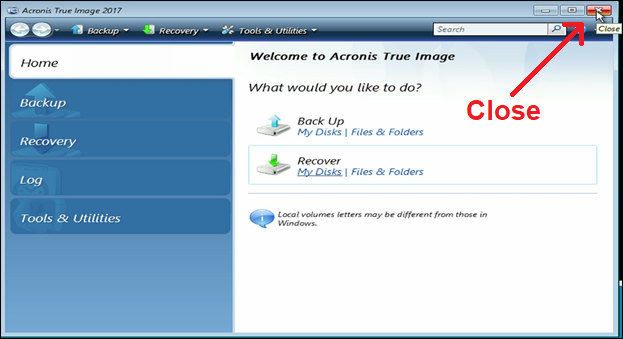
- Close the Command Prompt and reboot the system.
As the unit is booting, tap the “Delete” key on the keyboard to prompt the BIOS.
A login prompt will display. Enter the System Administrator password
-
- Default Password (Win7): admin
- Once logged into the BIOS, use the arrow keys on the keyboard to navigate to the “Boot” tab.
Make sure that the “Boot mode select” setting is set to “UEFI”.

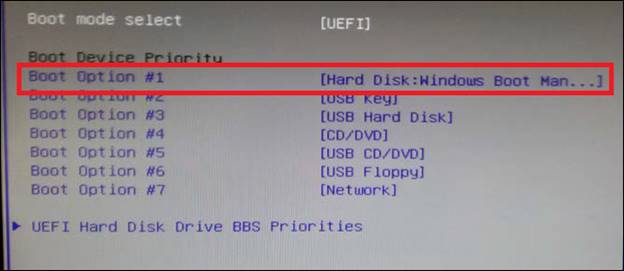
- In the Boot menu, locate the Boot Device Priority and select “Boot Option #1”.
Make sure that Boot Option #1 is set to use “Hard Disk: Windows Boot Manager” as the first boot option. This designates the storage drive that is hosting the (C:) partition as the device that the NVR will attempt to start from.
- Next, press the F4 key to Save and Exit the BIOS setup. Be sure to Save the configuration as you exit.
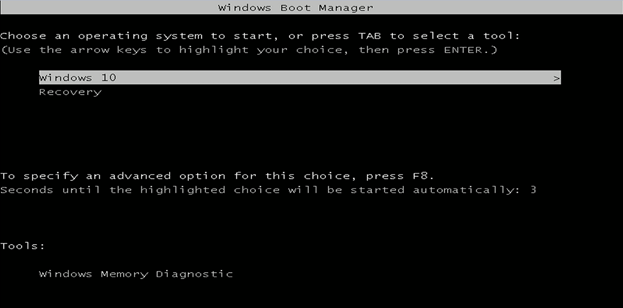
Upon startup, boot the system to Windows 10 and allow the system to load.
Creating a Recovery Image (Optional)
For further redundancy, a recovery image can be created to use as an embedded recovery file within the DW Blackjack system. It is recommended to create this image backup as soon as the unit starts after upgrading from Win7 to Win10, while still in a defaulted state.
To create a recovery image:
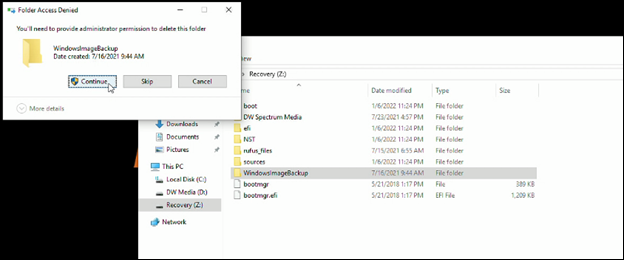
- Open the Windows Explorer utility and locate the “Recovery (Z:)” drive.
Select the “WindowsImageBackup” folder, then right-click on the file and select “Delete”. Click the “Continue” button in the confirmation window to delete the folder.
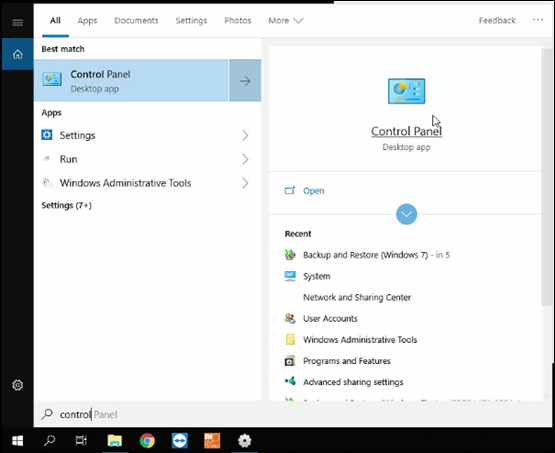
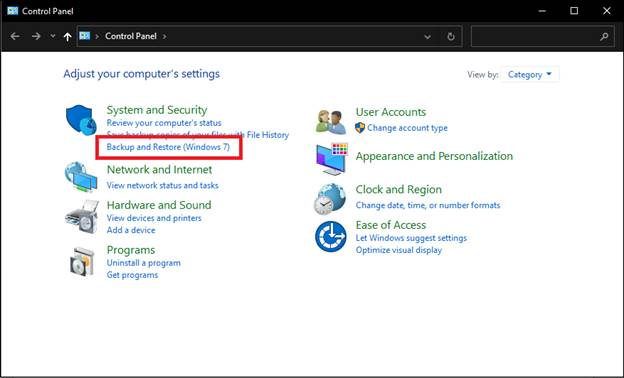
- Next, open the Control Panel application, then click on “Backup and Restore”.
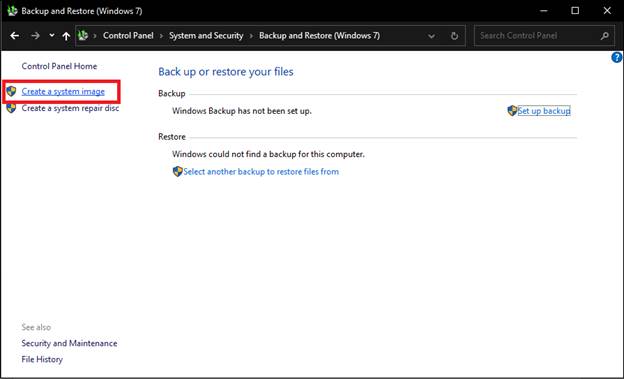
- Select “Create a System Image”.
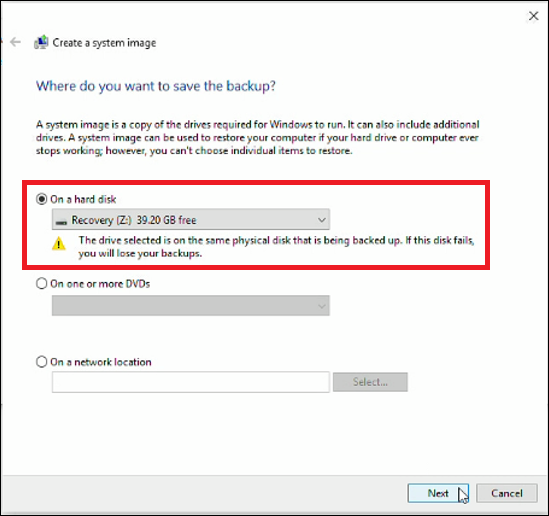
- The Create a system image window will display.
Select the “On a hard disk” option and set the “Recovery (Z:)” drive as the selected partition.
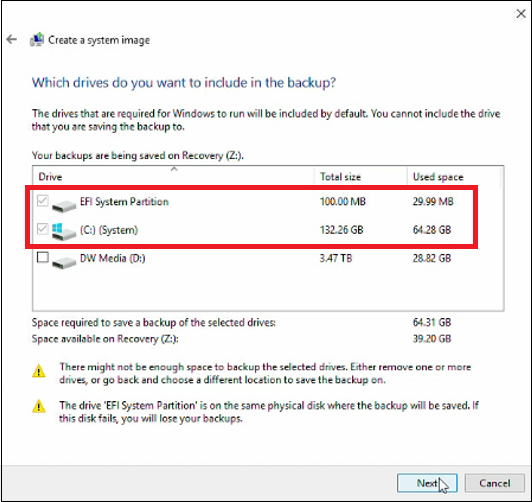
- Make sure that the “EFI System Partition” and the “(C:) (System)” options are selected for the backup, then click the “Next button.
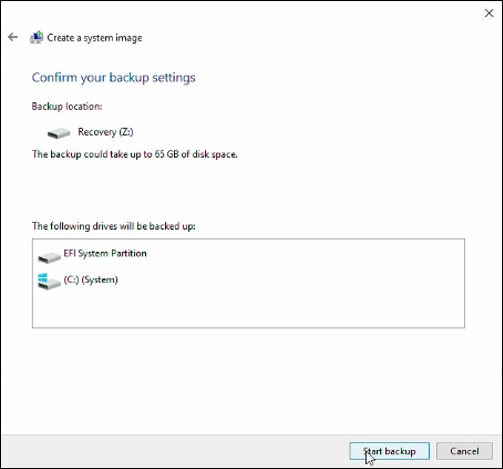
- Confirm your backup settings and click the “Start Backup” button.
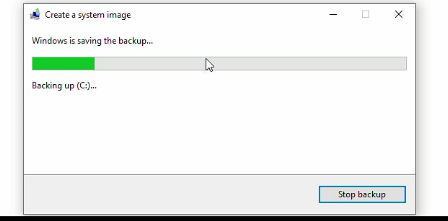
Allow the system to create the backup image. You can use the progress bar to track the process.
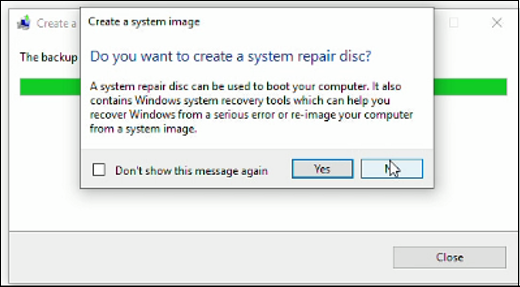
- The system will inquire if you want to create a repair disk.
Select the “No” option and allow the backup image creation to complete.
- Once the backup image creation has completed, you may close the Backup and Restore window.
The OS image at the time that the backup was created will now be the copy that the system will revert to if the integrated recovery option is ever used.
______________________________________________________________________________
For More Information or Technical Support
DW Technical Support: https://www.digital-watchdog.com/contact-tech-support/
DW Sales: [email protected] | www.digital-watchdog.com
Rev: 06/25 Copyright © DW. All rights reserved. Specifications and pricing subject to change without notice. ![]()

